Overview
Recently I purchased the PhantomX Pincher Robot Arm and began the build process. Below are some notes and ‘gotchas’ that I’d like to pass along to others.
Starting State
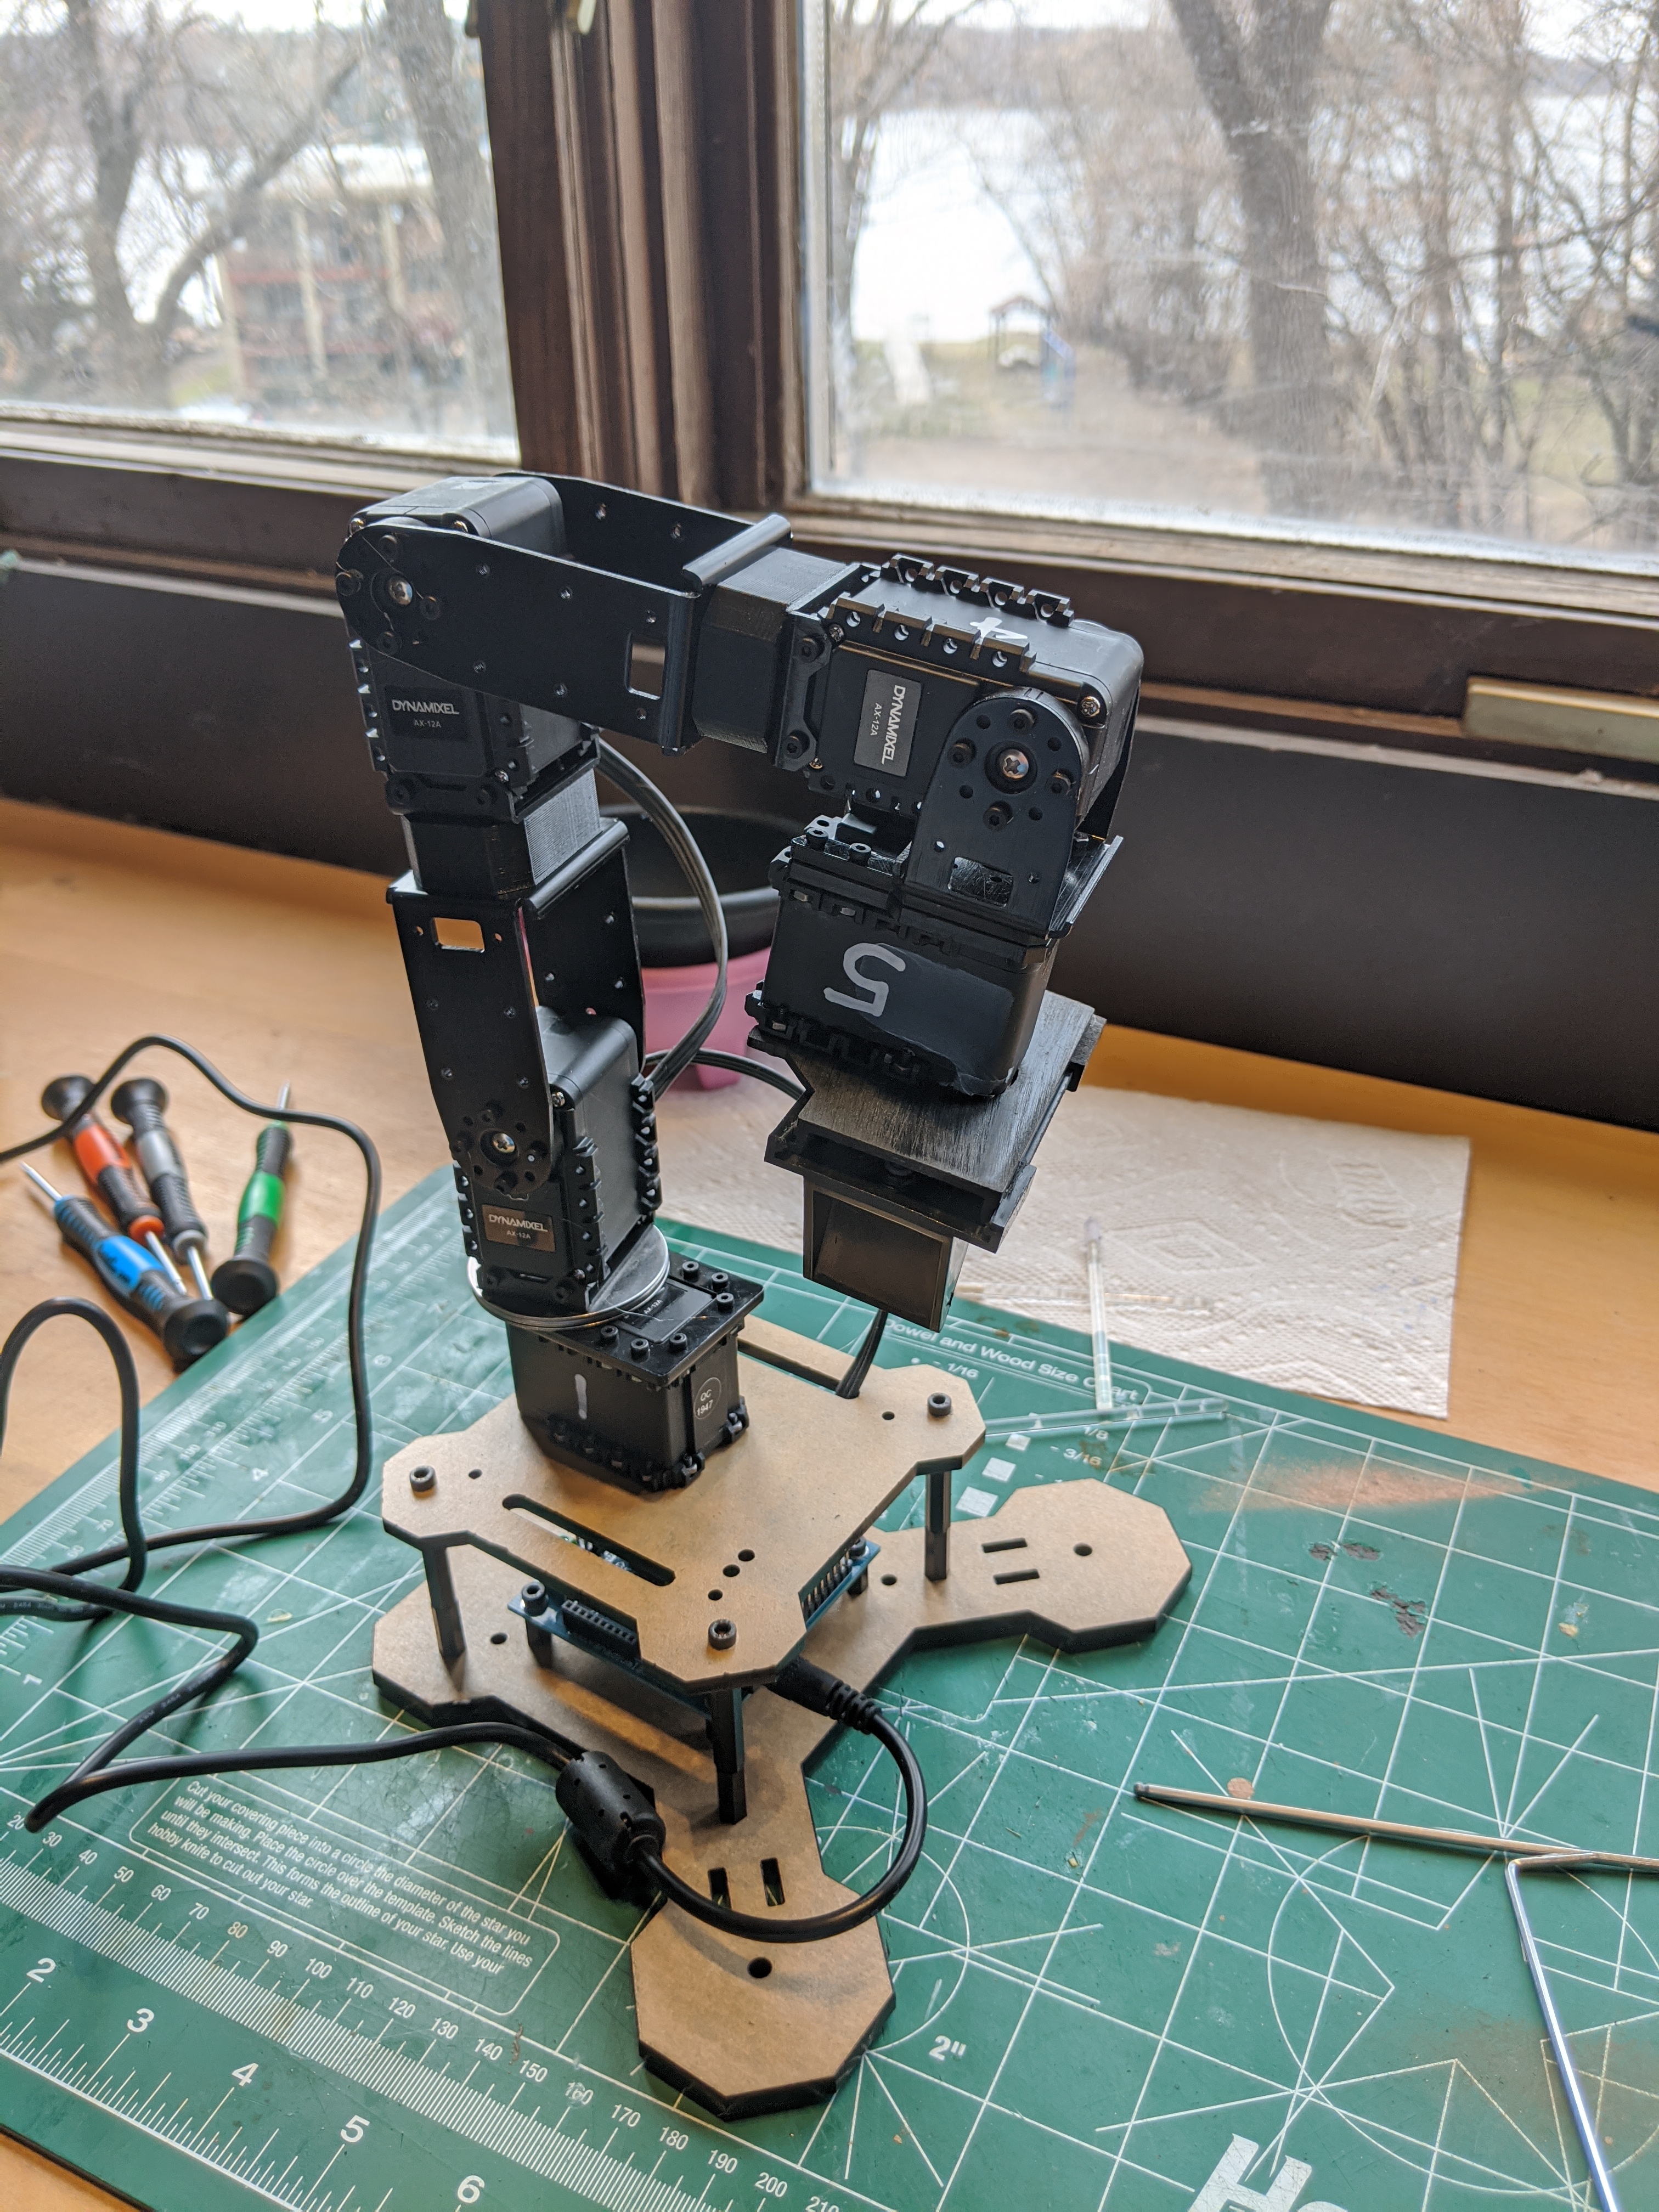
 Parts for the PhantomX Pincher Robot Arm. I marked the servos with white marker to make identifying the servos much easier. I would recommend something like this.
Finished State
Experience
The build is a bit challenging. If building an Ikea Bed has a difficulty value of 5 (good clear instructions), rebuilding a carburetor is a 10 (no real instructions and figuring it out as you go) and getting started on a Mac is a 1 (just press the power button), I would say that this is about a 7. Doable but the instructions can be a little bit tricky. To that end below are some things that I learned during the build that should help anyone who might be considering building the robot (including the future me).
Review
- For roughly $400 this is a great flexible desktop robot.
- The Dynamixel servos are a great thing to have.
- Trossen Robotics were really supportive. I purchased this during the COVID19 Quarantine period of 2020 and when initially delivered there were parts missing (check the parts list).
- I sent them a picture of the parts that I had and requested replacement parts and they sent them no questions.
- Unfortunately, they had a skeleton crew due to COVID19 and not all of the replacement parts came. During this time grace was needed. They then shipped the remaining part overnight. Thank you Trossen!
- From the robot quality and build I would build this robot again (especially now that I have the help tips below). I am eager to see how the programming goes and I plan on doing a separate blog on that experience.
Instructions
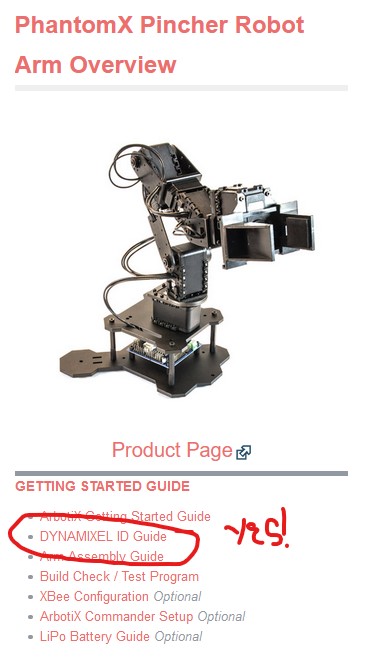
- The Arbotix Getting Started Guide worked fine.
Roboplus Issues
- Last item in the Arbotix Getting Started Guide that takes you to the next steps seems inaccurate.

- Behavior: When running the DYnamixel RoboPlus I could not get it to recognize the port.
- Does not recognize the port.
- Run the dynamixel instructions
- Seems that this is accurately described in the Trossen Getting Started Overview guide

Dynamixel Istructions
- Ran into an issue when running version 1.3
- Behavior: Could not get version 1.3 working dynaManager Version 1.3.
- Submitted a github issue ticket
1
2
3
4
5
6
7
8
9
10
11
12
ControlP5 2.0.4 infos, comments, questions at http://www.sojamo.de/libraries/controlP5
Exception in thread "Animation Thread" java.lang.UnsatisfiedLinkError: jssc.SerialNativeInterface.getSerialPortNames()[Ljava/lang/String;
        at jssc.SerialNativeInterface.getSerialPortNames(Native Method)
        at jssc.SerialPortList.getWindowsPortNames(SerialPortList.java:309)
        at jssc.SerialPortList.getPortNames(SerialPortList.java:298)
        at jssc.SerialPortList.getPortNames(SerialPortList.java:182)
        at processing.serial.Serial.list(Unknown Source)
        at dynaManager.setup(dynaManager.java:375)
        at processing.core.PApplet.handleDraw(PApplet.java:2359)
        at processing.core.PGraphicsJava2D.requestDraw(PGraphicsJava2D.java:240)
        at processing.core.PApplet.run(PApplet.java:2254)
        at java.lang.Thread.run(Unknown Source)
Solution: You should run the dynaManager Version 1.2 with Java. Here is the zip File
- Error when running:
dynaManager Problems
Setting DYNAMIXEL AX and MX Series Firmware, ID, and BAUD with ROBOPLUS 1.0
Robot Build
Step 1
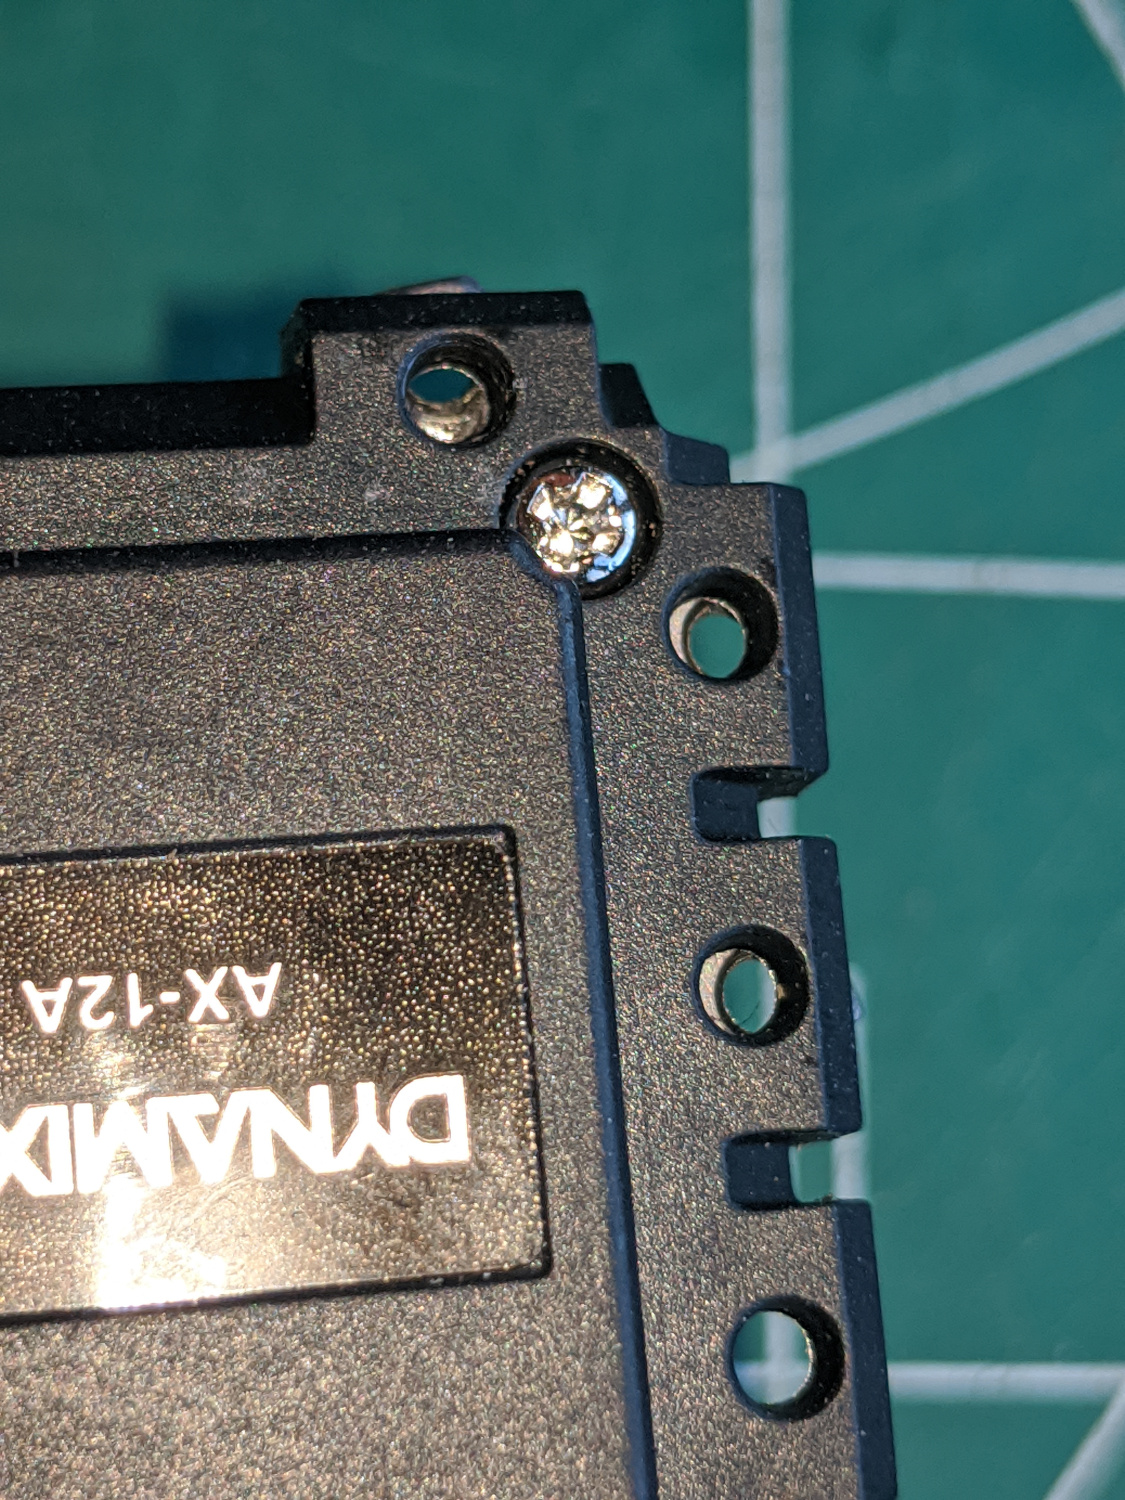
Nut Insertion YouTube.com video is useful, but my experience was that they didn’t ‘snap’ into place. The Nuts were still not aligned. I used the driver to push them down from the opposite side of the nut (see images).
- Recommend using another tool. Seemed to ‘round’ the edges of my drive tool doing this. Should have known better.
- Able to use supplied allen wrench to do a ‘finish tightening’ (thank you Trossen Robotics!)

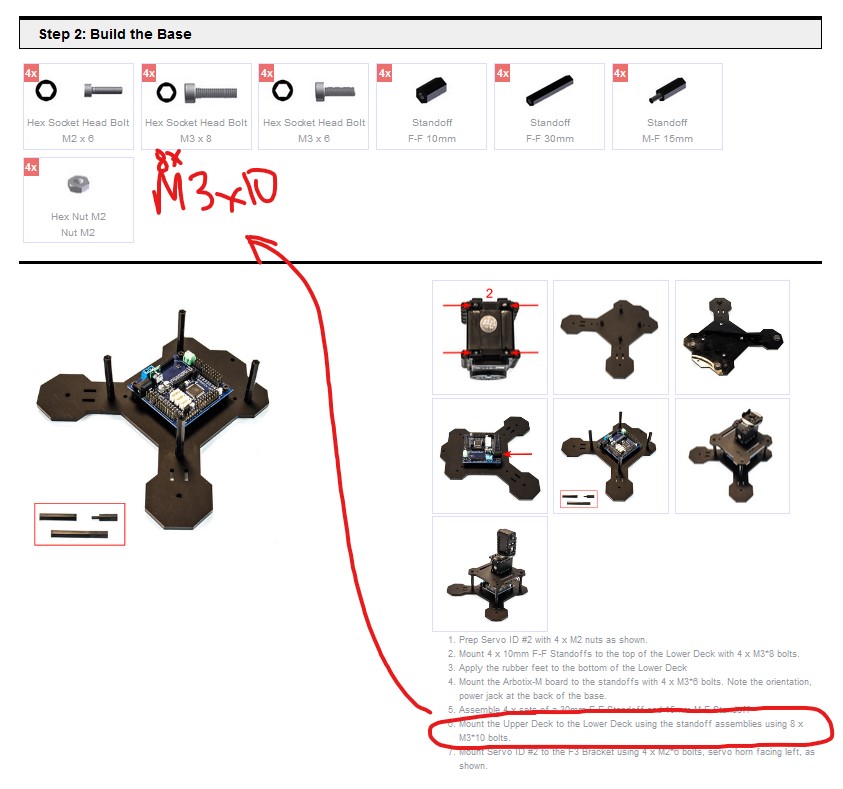
Step 2
- Step 2.4 doesn’t list bolts for the 15mm + 30mm standoff. Should include 8x M3*10 Bolts
Step 3
The parts list for Step #3 has changed. Specifically the Arm Spacer are no longer 8 stacked pieces but instead its a single 3D printed part (see below).
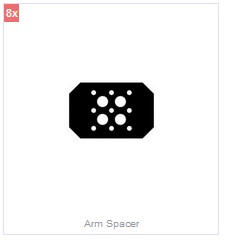
‘Arm Spacers’ listed in the product list and product build
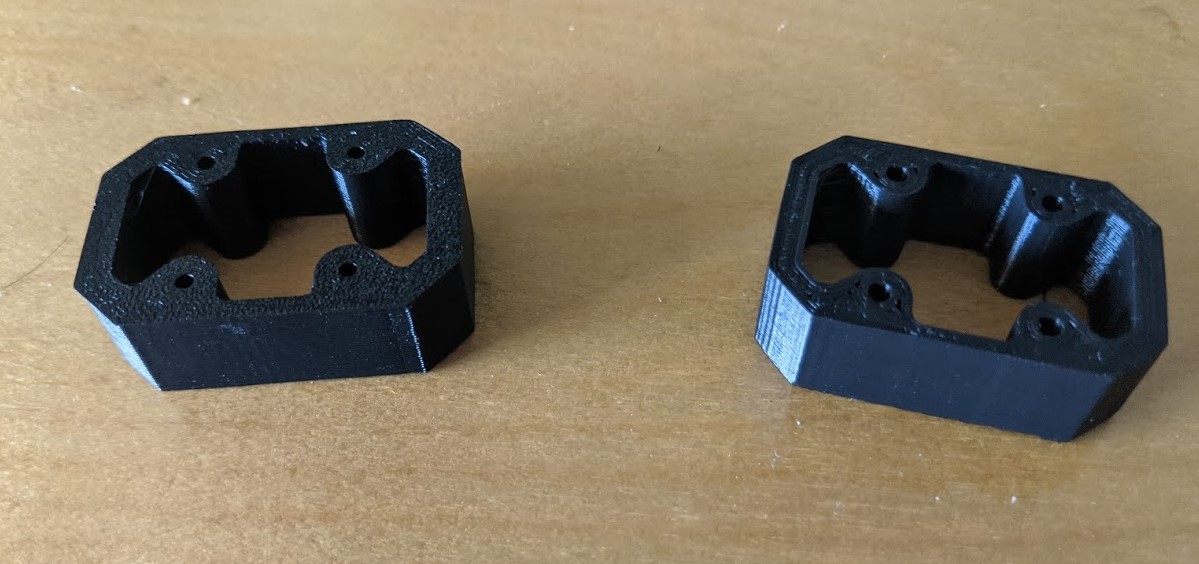 New 3D printed ‘Arm Spacers’.